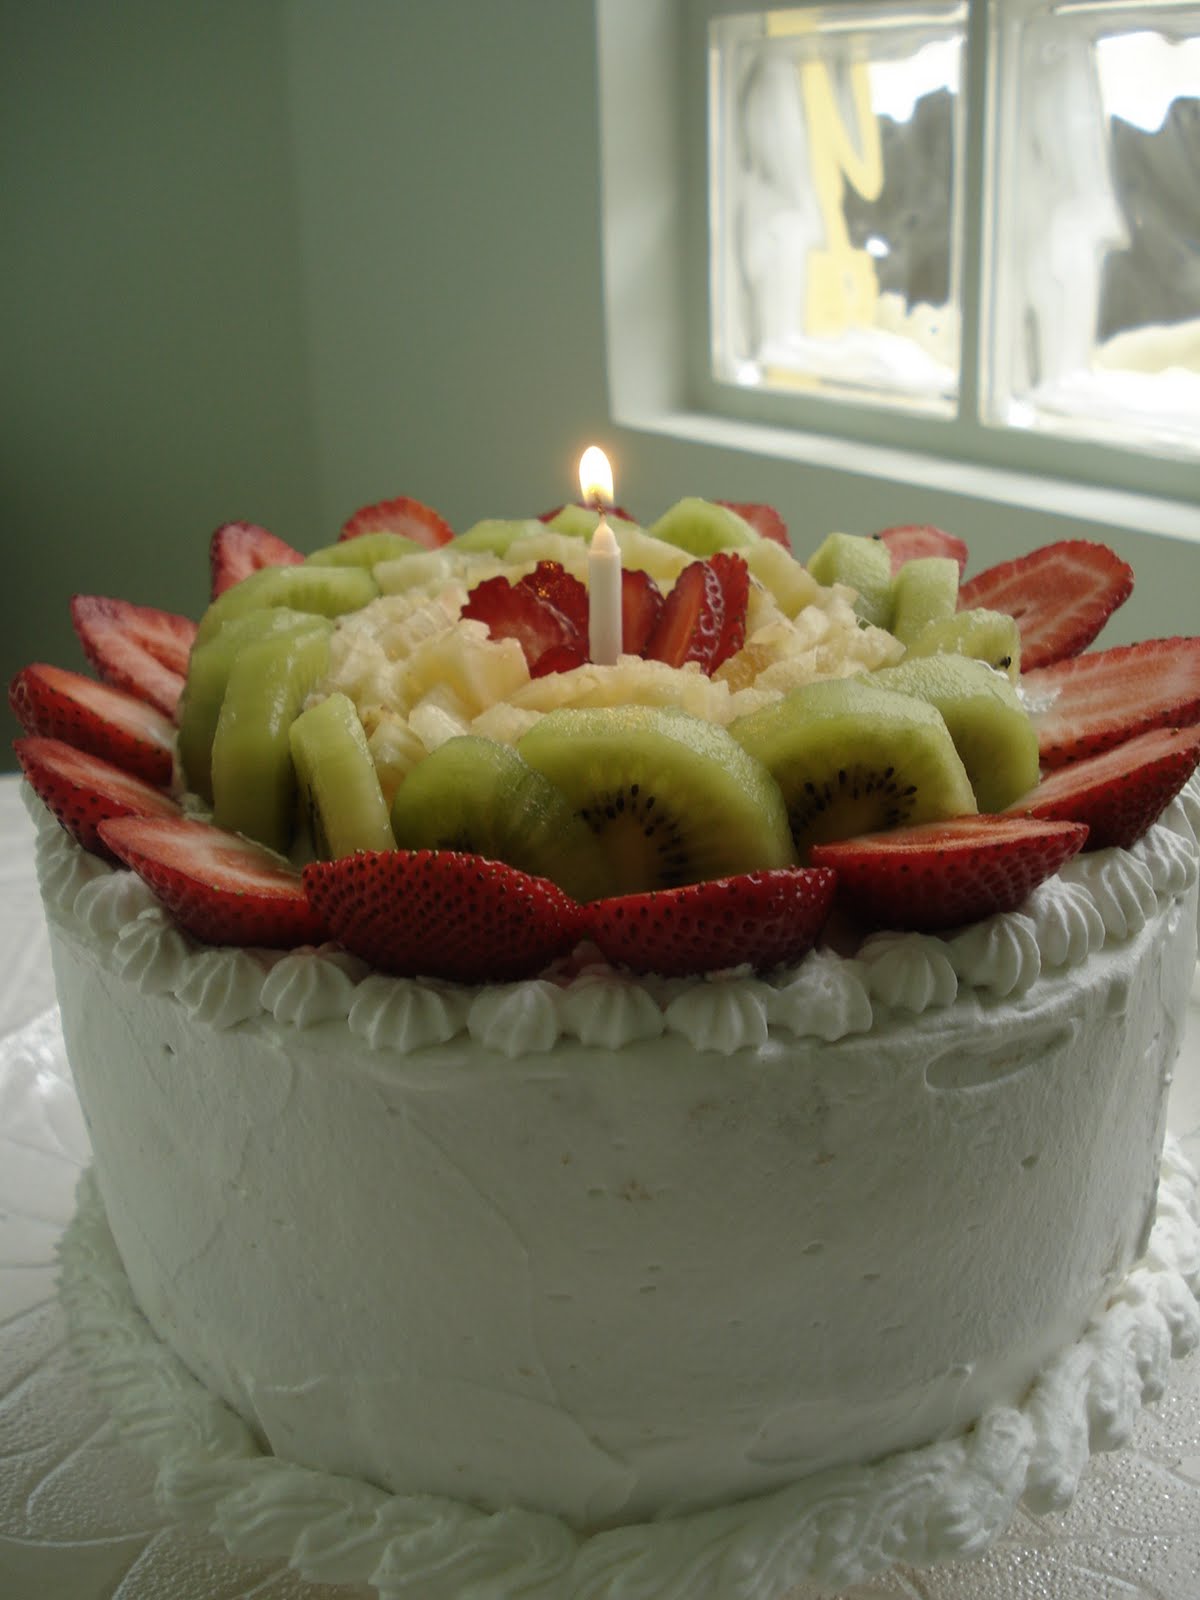
Thursday, August 25, 2011

1st year celebration cake!

Wow! Time flies, doesn't it? Can you believe it's been a year since we started this blog (well, a year and almost a month now...oops!)?
So, to celebrate the first year of OSSD I made... surprise... surprise... cake! It's very similar to the Mother's day cake I've posted a while ago. The only difference is that I added a thin layer of  sweetened condensed milk and lime mixture (recipe below) before spreading the whipped cream and strawberries, just to give a little tanginess. I also frosted the cake with whipped cream and put mixed fruit on top. The final result: Oh so sinfully delicious! =D


For the cake recipe and how to assemble the cake, click here.

Lime filling:
1/2 can sweetened condensed milk
Juice of 1 lime - or as much or as little as you want.

Mix with a spoon or a fork the condensed milk and juice. Let it sit for 5 minutes to thicken.


Saturday, July 23, 2011

Coconut Cream Pie

This coconut pie is so good we've made it several times now. Just remembering it makes my mouth water. Seriously. I won't say this is the best coconut pie I've ever had, but it's very, very close. And it's perfect  for you folks enjoying summer because is a no-bake, super fast dessert. =)
I'm off to enjoy the cold weather. Brrr. Have a great weekend!


200g Maria type cookies
100g (7 tablespoons) butter, softened

1/2 can sweetened condensed milk
320ml (1 1/3 cup) milk - used wholemilk
2 tablespoons cornstarch
3 eggyolks
100g shredded coconut
1 cup whipping cream

1. Start toasting the coconut. Preheat oven to 375ºF/ 190ºC. Spread coconut evenly in a baking sheet. Put in the oven and, this is super important, keep an eye on it at all times! It can go from golden to black in seconds. 10 minutes should be enough, but it'll depend on your oven. Stir every 5 minutes to make sure all sides are browned evenly. It's ready when golden brown. Let it cool.
2. Finelly crush the Maria cookies in a food processor, or in a blender. Transfer to a bowl and add the butter. Mix with your fingertips untill all the butter is combined. 
3. Transfer to a 8-inch springform pan or pie dish and press evenly into the bottom and sides. Keep aside, or in the fridge if you want.
4. Make the filling: Combine condensed milk, milk and cornstarch in a heavy-bottomed pan. Whisk until the cornstarch is dissolved.
5. Put a sift over the pan and strain the eggyolks. Put over medium heat whisking constantly until it thickens.
6. Pour over pie crust and let it cool completely.
7. Whip the cream to stiff peaks. Spread over coconut cream and sprinkle with toasted coconut.

Adapted from here (In Portuguese).

Wednesday, July 13, 2011

Super Fluffy Pancakes

This is my favorite pancake recipe. I lost count on how many times I've made them since Ann gave it to me last year. More than I should have, I guess. But what can I do, they are that good. Seriously. You should try it this weekend. Or tomorrow for breakfast, why not? They take no time to make and they freeze well, too. That way you can have pancakes for breakfast whenever you want! Do it, do it now!


2 cups all-purpose flour
3 teaspoons baking powder
1/2 teaspoon salt
1/2 cup sugar
1 cup milk, room temperature
4 tablespoons unsalted butter, melted
2 eggs

1. Sift together flour, baking powder, salt, and sugar in a large bowl.
2. Add milk, butter, and eggs and whisk until incorporated.
3. Heat a butter-greased frying pan over medium heat and pour the desired ammount of batter.
4. Brown both sides.
5. Serve with fresh fruits and syrup.

Notes:
-Let the pancakes cool before freezing, rolled in foil or in a tightly sealed plastic bag.
-Defrost in microwave, without foil, for aprox. 1 minute.

~7-8 pancakes.
Unfortunately, Ann forgot where she took this recipe from.

Monday, June 27, 2011

Strawberry Frozen Yogurt

As promised on my last post, here's a refreshing, delicious summer recipe for you. This frozen yogurt is soooooo good, you have no idea. And is super easy, requires no ice-cream maker and no more than 3 ingredients - 4 if you count the salt, but everybody has is at home, right? And what is best, you can finish those strawberries you can no longer eat 'cause you were greedy and bought 4 packs last week. Don't worry, I'm not judging you. If I lived in a country with suculent, sweet and huge strawberries, I would buy tons of it whenever I could, too. ;)


400g plain yogurt
200g sweet condensed milk (1/2 can)
Pinch of salt
~250g fresh strawberries

1. Place strawberries into a blender or food processor and process until they are pureed. Pass through a fine sieve and measure 1/3 cup (75ml). You can keep the remaining puree for another batch.
2. In a metalic bowl, whisk together all ingredients until combined. Place in the freezer and whisk every 30 minutes, for 2 hours.
3. Let it freeze for another 2 hours. Take out from the freezer and let it stand for 10-15 minutes to soften. Mix with a hand mixer until smooth (this step is optional). Return to freezer until it sets.

Recipe adapted from the Passion fruit froyo from this blog. (In portuguese)

Wednesday, June 22, 2011

HAPPY BIRTHDAY ANA!
You have been a great friend and an inspiration to me when it comes to exploring and expanding my passion in baking.
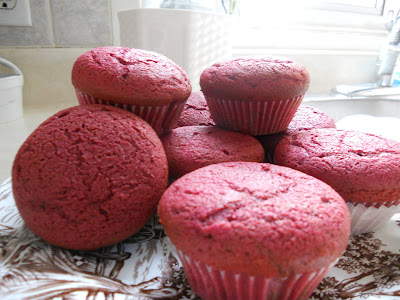
Since I cannot be in Brazil to celebrate your birthday (even though I would love to!) I decided to bake something special for you instead. So my gift to you is Red Velvet Cupcakes. I decided to bake these for you for two reasons: 1) The first time I've ever had red velvet cupcakes was in Brazil, and 2) You're a cupcake fanatic.
These cupcakes were awesome-just like you. I love you, and miss you Ana!
With Birthday Hugs and Kisses
-Ann
Red Velvet Cupcakes*
2 1/2 cups sifted cake flour
1 teaspoon baking powder
1 teaspoon salt
2 tablespoons unsweetened cocoa powder
2 oz. red food coloring (two bottles)
1/2 cup unsalted butter, softened
1 1/2 cups sugar
2 eggs, at room temperature
1 teaspoon vanilla extract
1 cup buttermilk, at room temperature
1 teaspoon white vinegar
1 teaspoon baking soda

Directions
1. Preheat oven to 350 degrees. Line two 12 cup muffin tins with cupcake liners.
2. Sift together the cake flour, baking powder, and salt in a medium bowl and set aside. In a smaller bowl, mix food colour, and cocoa powder to form a thin paste without lumps and set aside.
3. In a large bowl, using a hand mixer, beat butter and sugar together until fluffy. Beat in eggs one at a time, then beat in vanilla and the red cocoa paste, scraping down the bowl with a spatula as you go.
4. Add 1/3 of the flour mixture to the butter mixture, mix, then beat in 1/2 of the buttermilk.
5. Beat in another 1/3 of the flour mixture, then add the second 1/2 of the buttermilk. Add the last 1/3 of the flour mixture, and mix until well combined, making sure to scrape down the sides with a spatula.
6. In a small bowl, mix vinegar and baking soda. Add vinegar mixture to the cake batter and stir well to combine.
7. Fill cupcake cups with cake batter untill they are a little under 3/4 full.
8. Place muffin tins in preheated oven. Bake for approximately 20 minutes, rotating pans halfway through.
9. Cool for ten minutes, and frost and decorate the the tops.
*This fabulous recipe was taken from bestcupcakerecipes.blogspot.com

Saturday, June 11, 2011

Orange Poppy seed Muffins

Hi, all!I'm back and I brought you some muffins. =) I know you're all enjoying the sun and beautiful sunny days, and all you want is a cold refreshing treat. But I'll leave that for my next post, okay? It's getting colder and colder - brrr- around here and all we want is a right-out-of-the-oven treat with a hot beverage. ;)


Adapted from this book
300g self-rising flour
1/4 teaspoon baking powder
125g caster sugar
2 tablespoons orange zest
185ml buttermilk
1 teaspoon vanilla
2 eggs, ligtly beaten
110g unsalted butter, melted
Poppy seeds - I didn't measure it but I think 2 to 3 tablespoons should be enough.

1. Preheat oven to 200ºC/390ºF. Line a muffin tray with paper liners.
2. In a large bowl, sift together  flour, baking powder, poppyseeds, and sugar. Add the orange zest and make a well in the center.
3. In a small bowl, mix together buttermilk, eggs, and vanilla.
4. Pour the buttermilk mixture and the melted butter into the flour mix and stir with a fork/whisk jut until combined. Do not overmix - a few flour lumps is ok.
4. Fill the muffin cups and bake for about 12 minutes, or until a skewer comes out clean. Let it cool  for 5 minutes before removing from pan.

Makes 12 muffins.

Tuesday, May 17, 2011

Apple Cake (w/ skin)

Today I bring you another cake, not a fancy, layered cake, but a humble yet delicious apple cake. Perfect for  a chilly afternoon snack along with a cup of tea. =)
What I like the most about this cake is that there's no waste since you use the whole apple - well, except for the seeds, but you can keep them and plant an apple tree. Who knows, maybe oneday you'll be making this apple cake with your own apples. ;) Haha.
Bake on, people!

-Ana
Apple Cake (with skin)

I took this recipe from a brazilian website but I can't find it anymore. =s

1 cup vegetable oil
4 eggs
1 1/2 cups caster sugar
3 apples - I used Fuji apples
2 1/2 cups all-purpose flour
1 tablespoon baking powder
Ground cinnamon, to taste - I used 1 teaspoon
1/2 cup raisins - optional
You can also add nuts, like hazelnuts or cashew nuts

1. Preheat oven to 350ºF/180ºC. Grease and flour a cake pan.
1. Peel the apples and save the skins. Chop the apples into cubes.
2. In a blender, add the oil, eggs, sugar and apple skins and blend until smooth.
3. In a medium/large bowl, sift together flour, baking powder and cinnamon. Add the wet ingredients and mix well. Add the chopped apples, raisins, and nuts and mix.
4. Bake for 40-50 minutes or until a toothpick inserted in the centre of the cake comes out clean. Let it cool for 15-20 minutes in the pan.